Adding Items to Menus
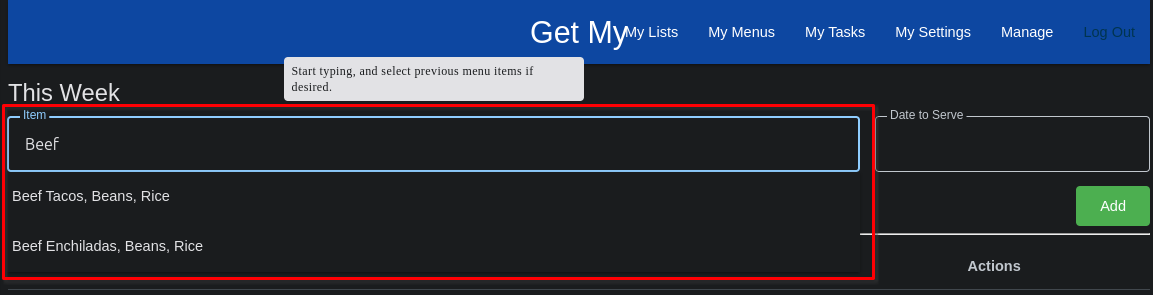
You can type the item into the 'Item' input box. I like to list each dish I'll be serving on a given day, such as "Green Chile Chicken Enchiladas, Beans, and Rice". When typing, just like when adding List Items to a List, the system will offer autocomplete suggestions based on menu items you may have previously entered that match what you are typing. As with Lists, this feature can make generating a menu, and ultimately a shopping list, much easier and more efficient over time.
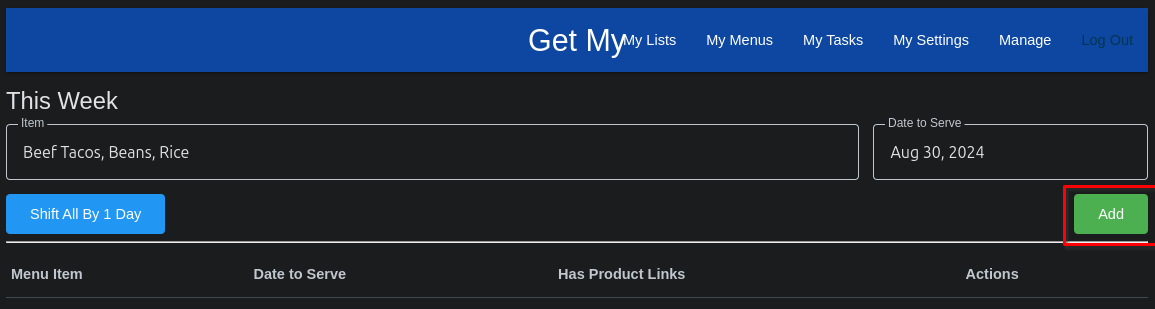
Once you've entered the item you want to serve, click / touch the 'Date to Serve' field, and you'll be presented with a calendar modal (pop-up) from which to choose the date that you'll serve the menu item on.

Select a date by clicking or touching the date, then click / touch 'Ok'. Once the date has been selected, and the menu item entered, you can click / touch the "Add" button to add the item to your menu.
You'll see the items listed below the entry form as you continue to add more menu items to your menu.
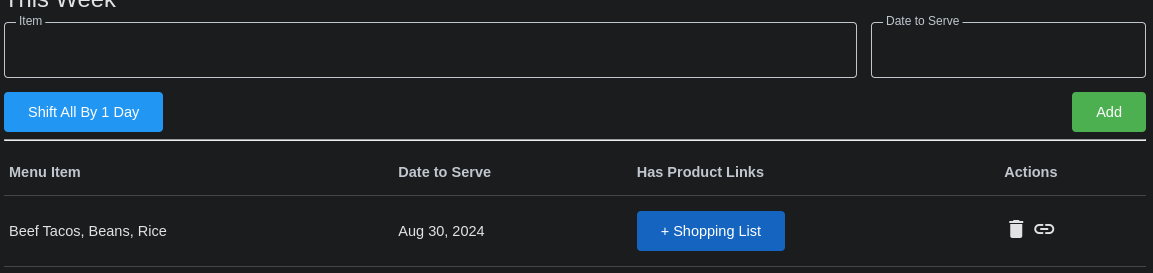
You can delete a menu item by touching / clicking the trash-can icon to the right of the item in it's row.
If you are anything like my family, you may lay out a menu for the next 10 days, but then decide to have left-overs one night instead o what's on the menu. Not to worry, when this happens, just touch / click the 'Shift All By 1 Day' button. This will shift all of the menu items by 1 calendar day later. So, if you planned Beef Tacos, Beans, and Rice for Aug 30, 2024; it would be moved to Aug 31, 2024 instead. And, everything after it will also be moved out by one calendar day.