Products and Stores
Setting up products and stores in Get My to make your lists, menus, and shopping more efficient.
Add and Edit Stores
Stores are used as an organizational tool in Get My. You can assign stores to the Products you'll add to the system. Eventually, you'll be able to sort your shopping list by the stores products are available from so that you can get your shopping done more efficiently.
If a product is available at more than one store, it will show up in both stores' list section, but will be cleared when you clear it from either list section.
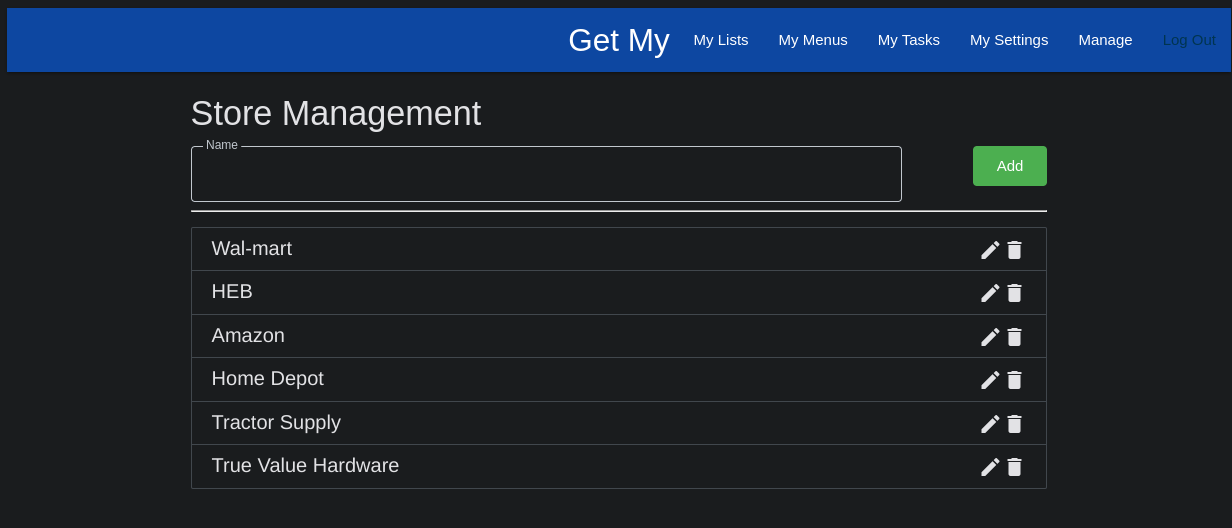
To add stores, a system administrator can navigate to Manage >> Stores, then enter as many store names as you want / need.
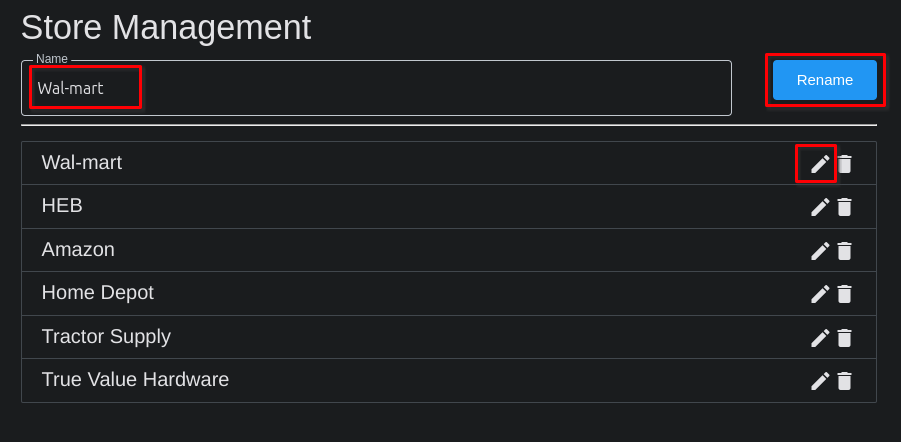
Stores can also be renamed from this page. Simply click / touch the pencil (edit) icon on the row of the store you want to rename (edit the name of), and the Store will be placed into the entry field at the top of the screen. Click 'Rename' when done editing, and the changes to the store name will be saved.
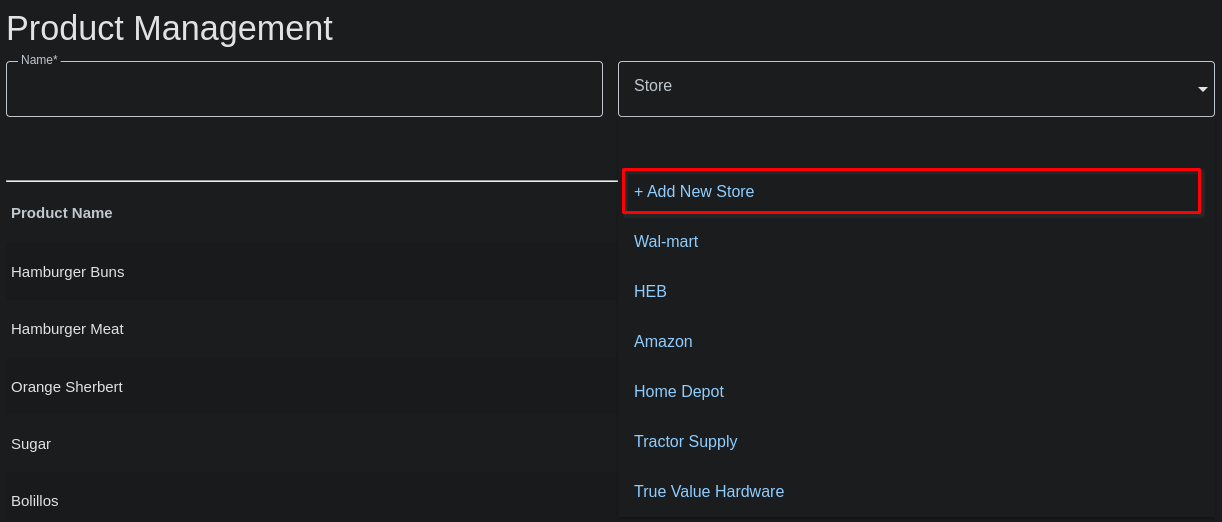
Stores can also be added from the Product entry screen. When entering / editing products, you may find one that you haven't entered a store for yet. Simply click the 'Store' drop-down field, and select the '+ Add New Store' option at the top of the list of stores.
You'll be presented with a small modal (pop-up) window where you can now add a new store name to your list of stores.
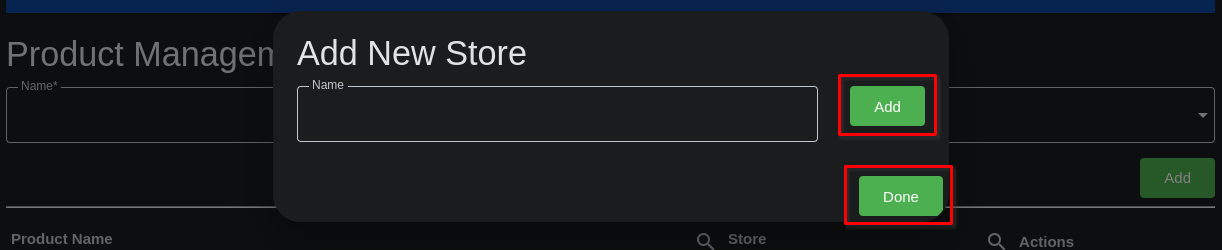
Enter a Store name, then click the 'Add' button to the right of the field. You can add multiple stores this way. When done adding store names, click the 'Done' button to close the modal (pop-up) and continue adding products.
Note: sometimes you'll need to refresh the page before newly added stores will show up when added from the products page.
Add and Edit Products
Products are the items you shop for, or any item you might need / want to put on a list. Get My doesn't have to be used as a shopping list app alone. It can be used for anything you may need a list for. It could be a To Do list (though Tasks are probably better suited for that purpose).
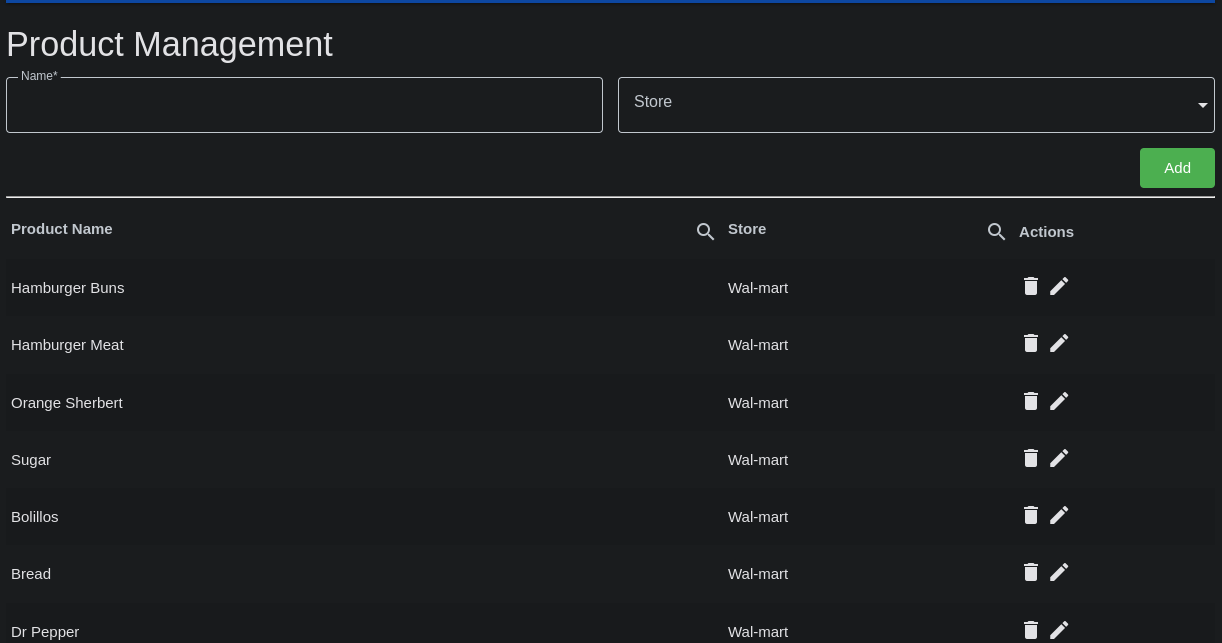
Adding Products can be done by a System Administrator by navigating to 'Manage >> Products',
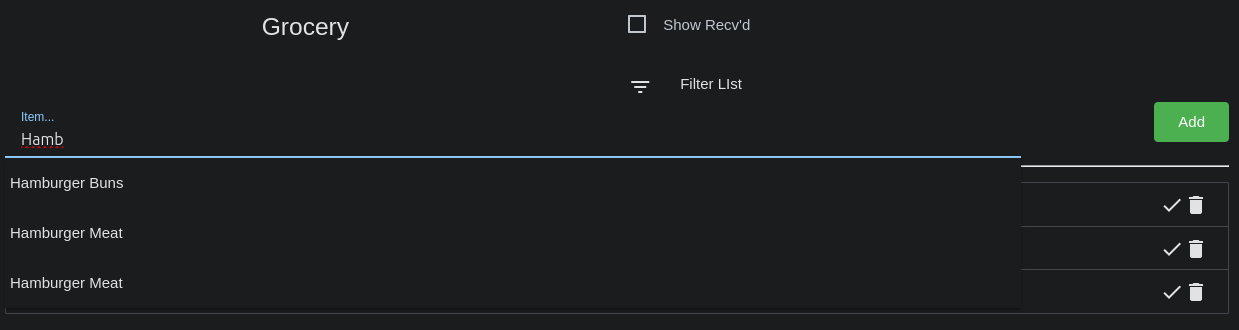
or by any user on-the-fly directly from within a List.
Note that a List must exist before Products can be added from that location.
When users add products on-the-fly, they will be presented with autocomplete options that match what they've typed. These autocomplete options are pulled from existing Products already saved in the database.
If a system administrator is keeping up with Product entries, and keeping them cleaned up, as well as ensuring they have associated Stores, the Lists will get faster and easier to create over time using the autocomplete feature. Additionally, the stores will be auto-associated from existing Products.
NOTE: A Product does not have to exist in the Products category before something can be added to a list. Products are most often crated by adding them directly to a List. This simply requires a bit of clean up as you go along.
Products can be edited from the Manage >> Products page by clicking on the pencil (edit) icon next to the product you wish to edit. This is also how Stores can be added for Products that were added "on-the-fly".
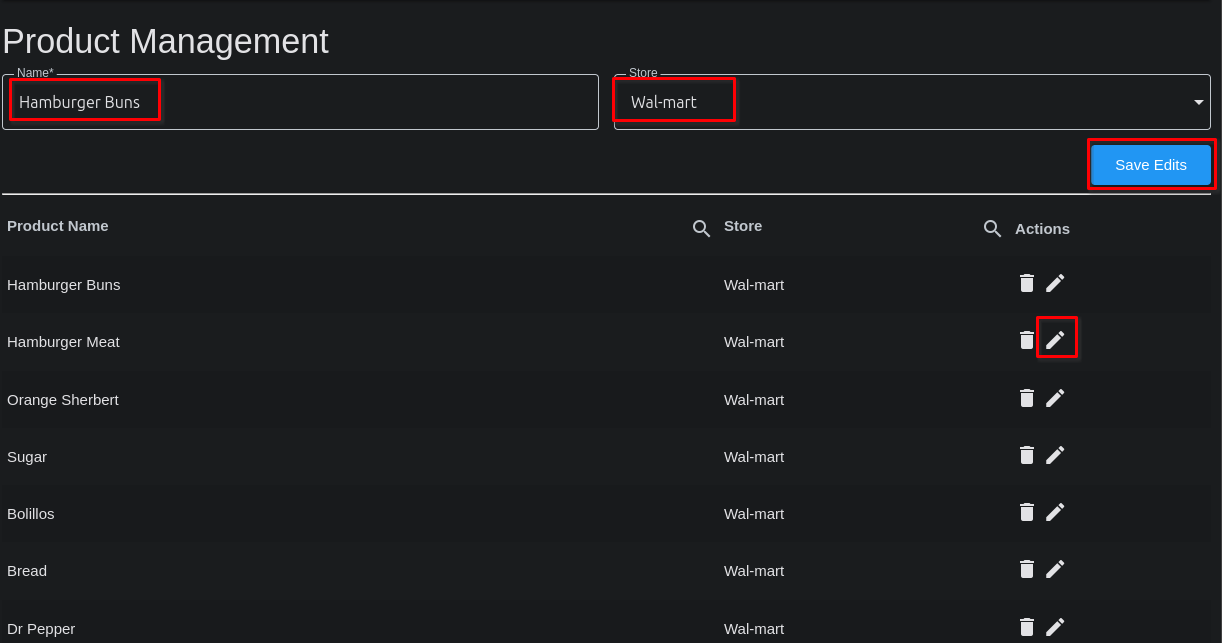
Once the pencil (edit) icon is clicked, the item name and any selected stores will be shown in the form at the top. Simply make any desired changes, then click the 'Save Edits' button.
Products in the table can be searched (filtered) quickly by either the Product Name column, or the Store column. Each column has a small magnifying glass icon at the top in the column header.
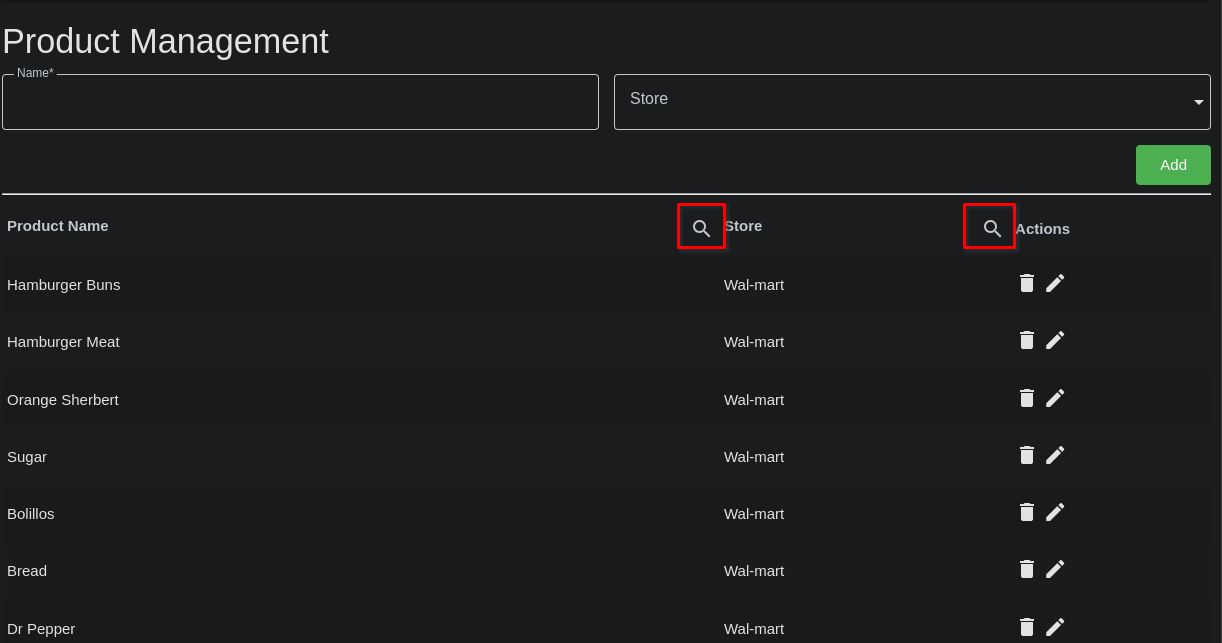
Click the magnifying glass icon, and that header will turn into a search field.
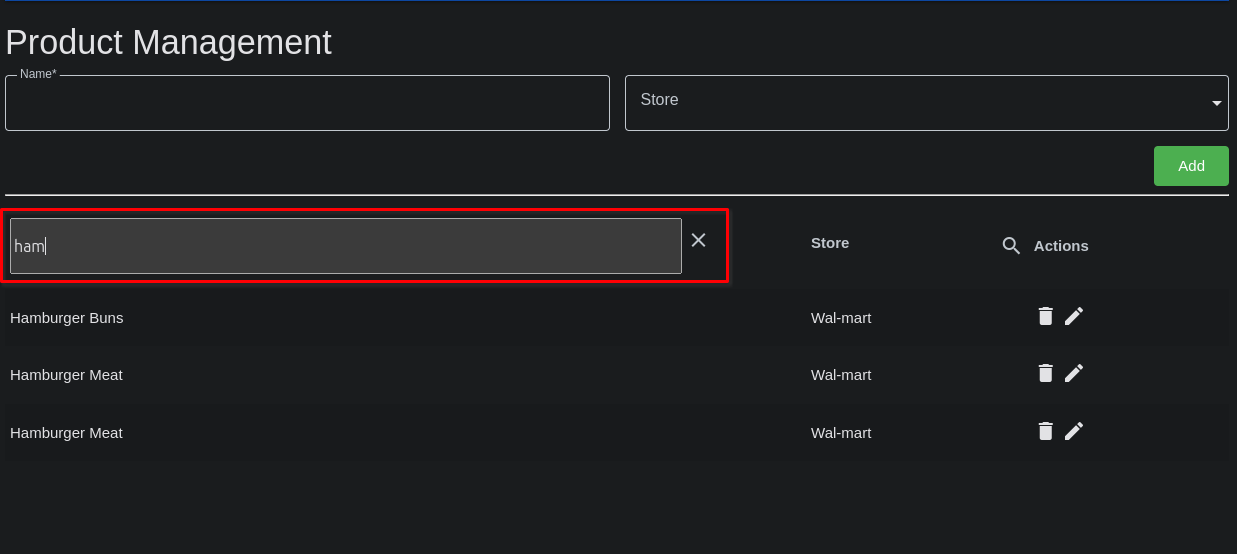
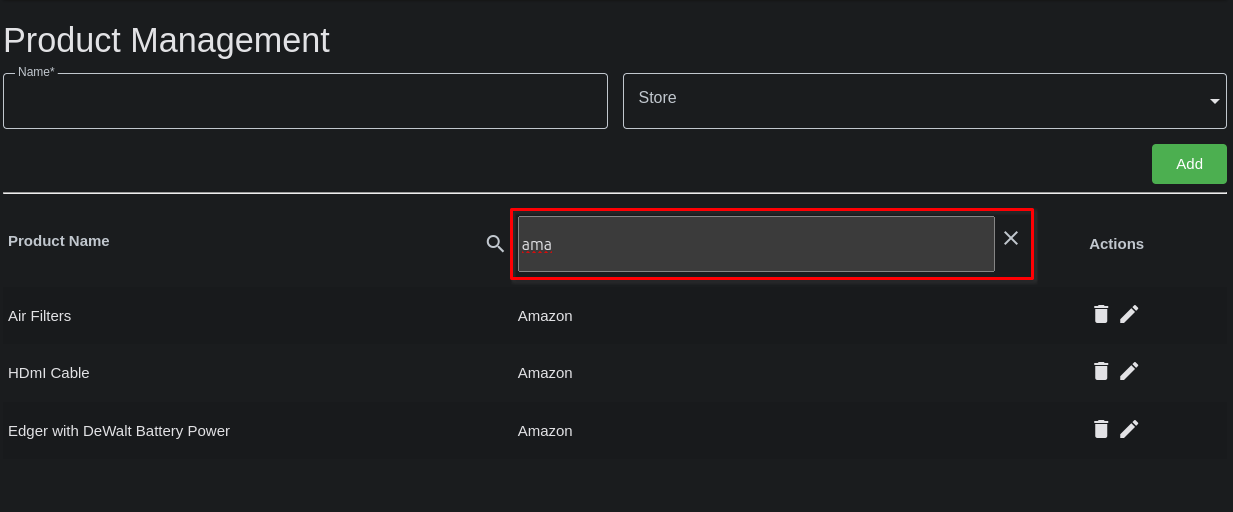
Type into the field, and the list will be quickly filtered to match what's been typed. Click the 'X' to the right of the search field to close the search and return to the normal table results.